Comprehensive Automotive Services in Austin
We are your one-stop shop for everything your vehicle needs, including preventative maintenance, transmission work, major collision reconstruction, and emergency tire service.


What Our Austin Customers Are Saying
We've built our reputation on trust and quality service. Discover why drivers across Austin and the Mueller area rely on us for honest advice, fair prices, and dependable auto care.
Danielle Husen
Read more4rox
Read moreFull-Service Auto Care in Austin, TX
From advanced diagnostics and collision repair to on-site tire replacement, our skilled technicians handle it all. We are your complete, dealership-quality solution for every automotive need in Austin.
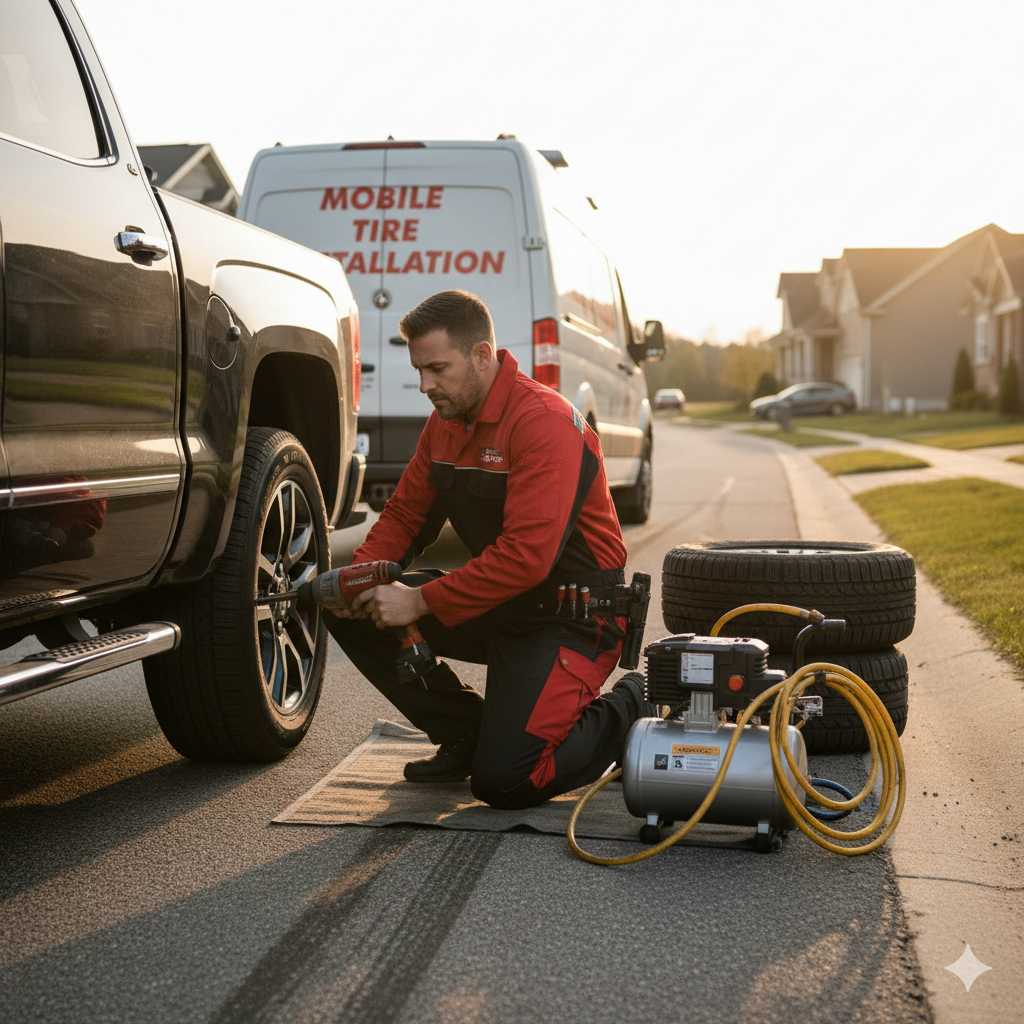
On-Site Tire Installation
Experience the ultimate convenience with Automotive Services of Austin's on-site tire installation. We bring the tire shop to you!
.jpg)
Emergency Flat Repair
Fast, reliable emergency flat tire repair services in Austin, TX. Get back on the road quickly and safely with Automotive Services of Austin.

Spare Tire Change
Quick & Reliable Spare Tire Change in Austin, TX. Get back on the road fast with our expert mobile tire service.
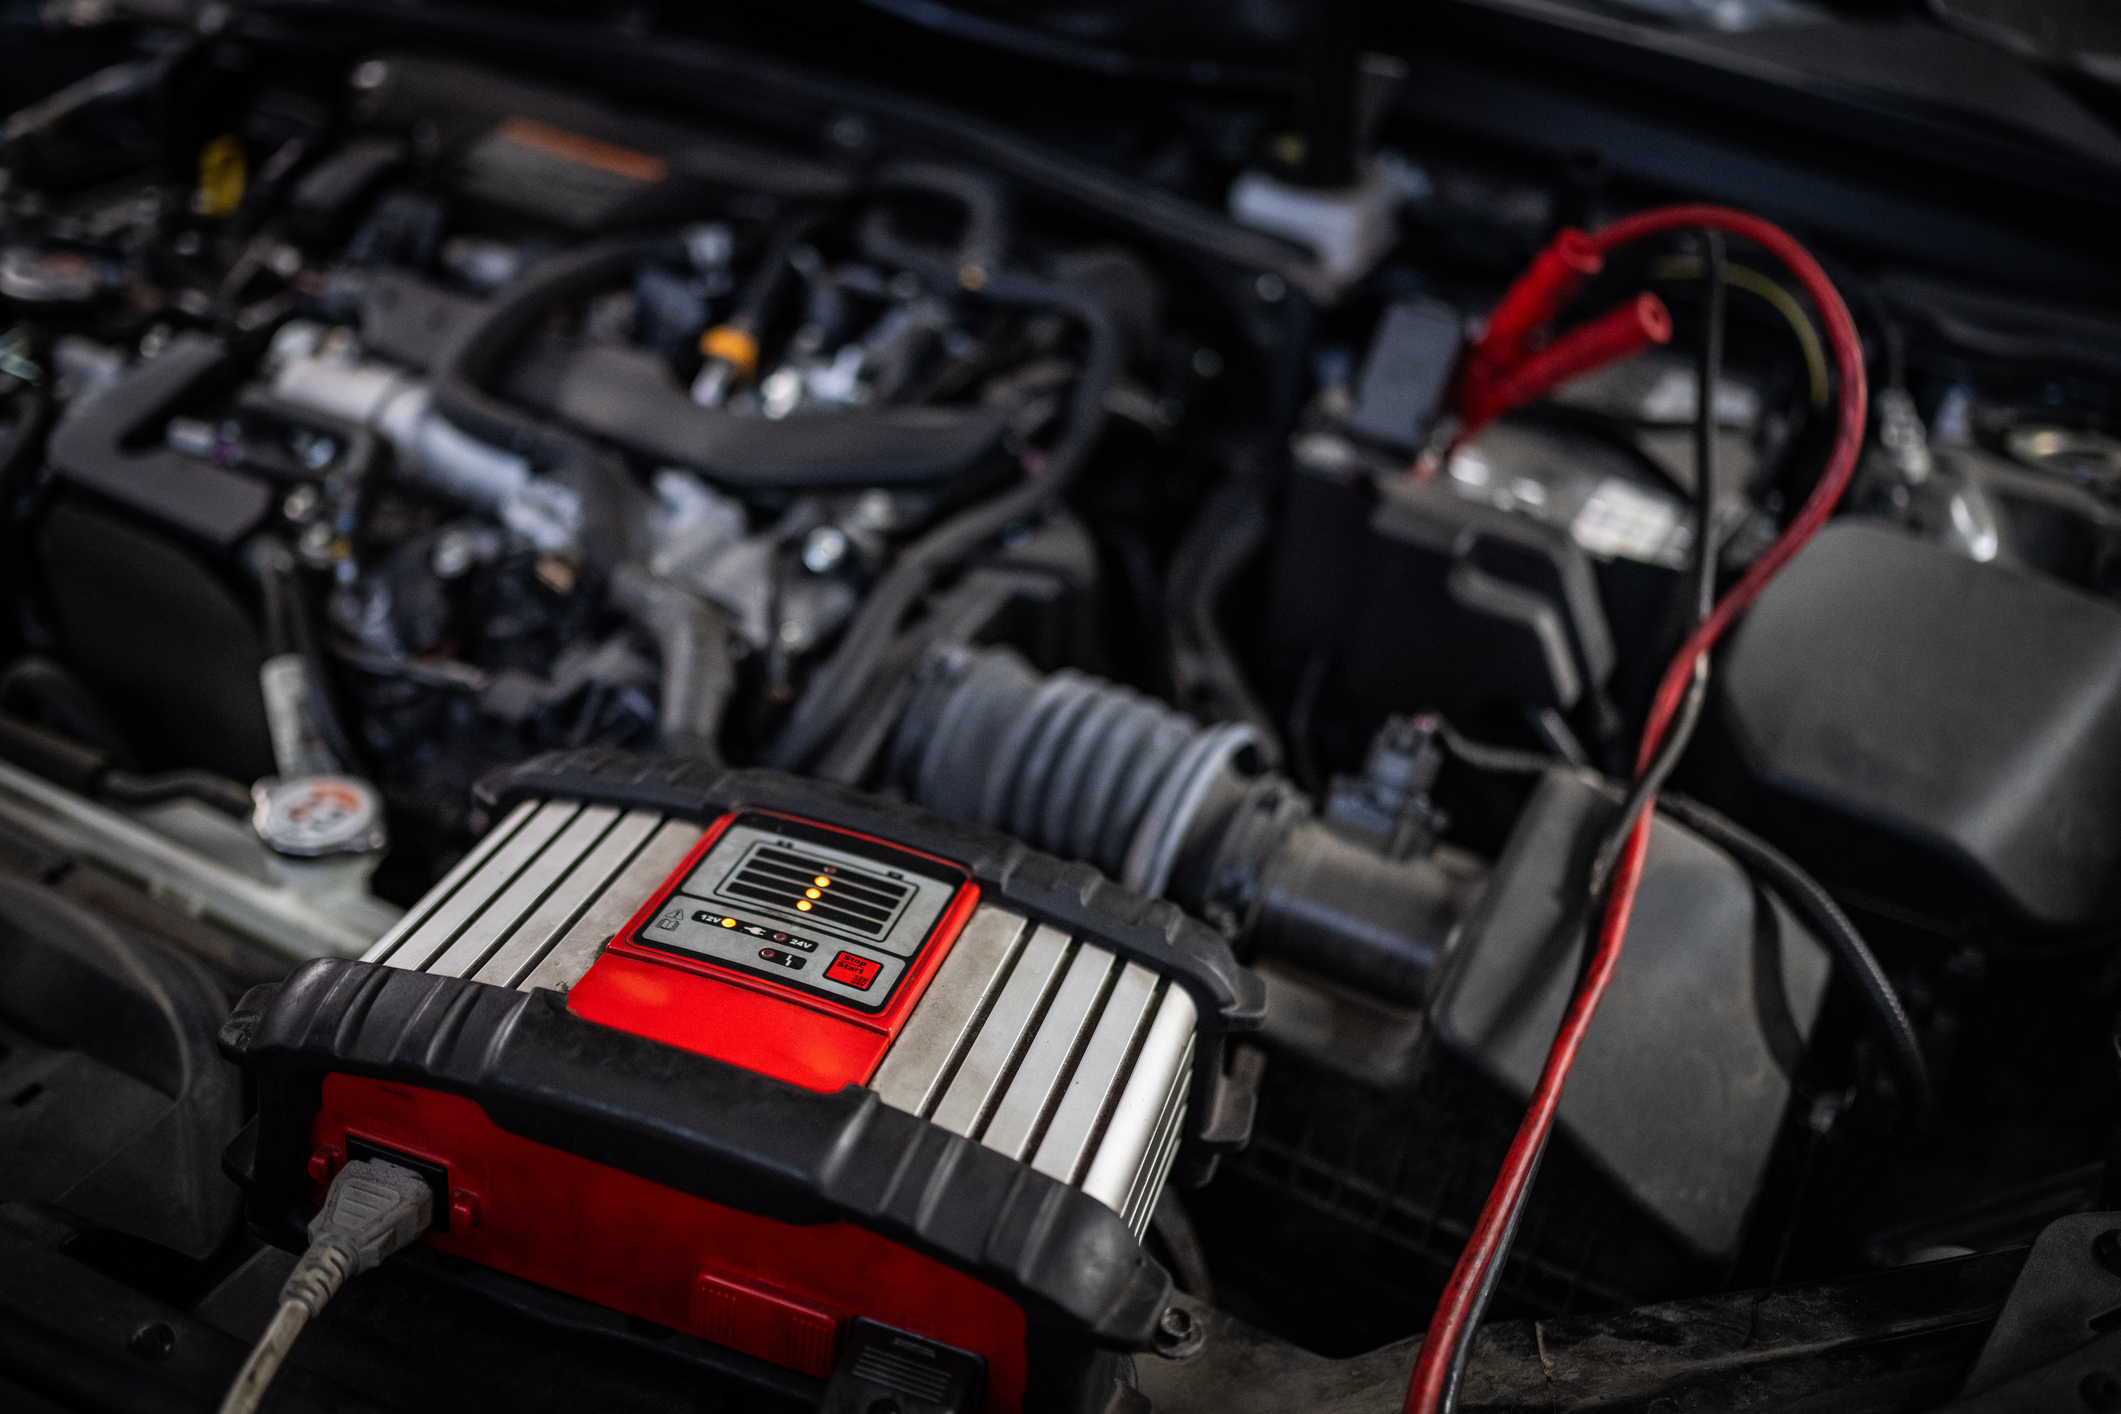
Battery Jumpstart
Dead battery? Automotive Services of Austin offers fast and reliable battery jumpstart services in Austin, TX. Get back on the road quickly!
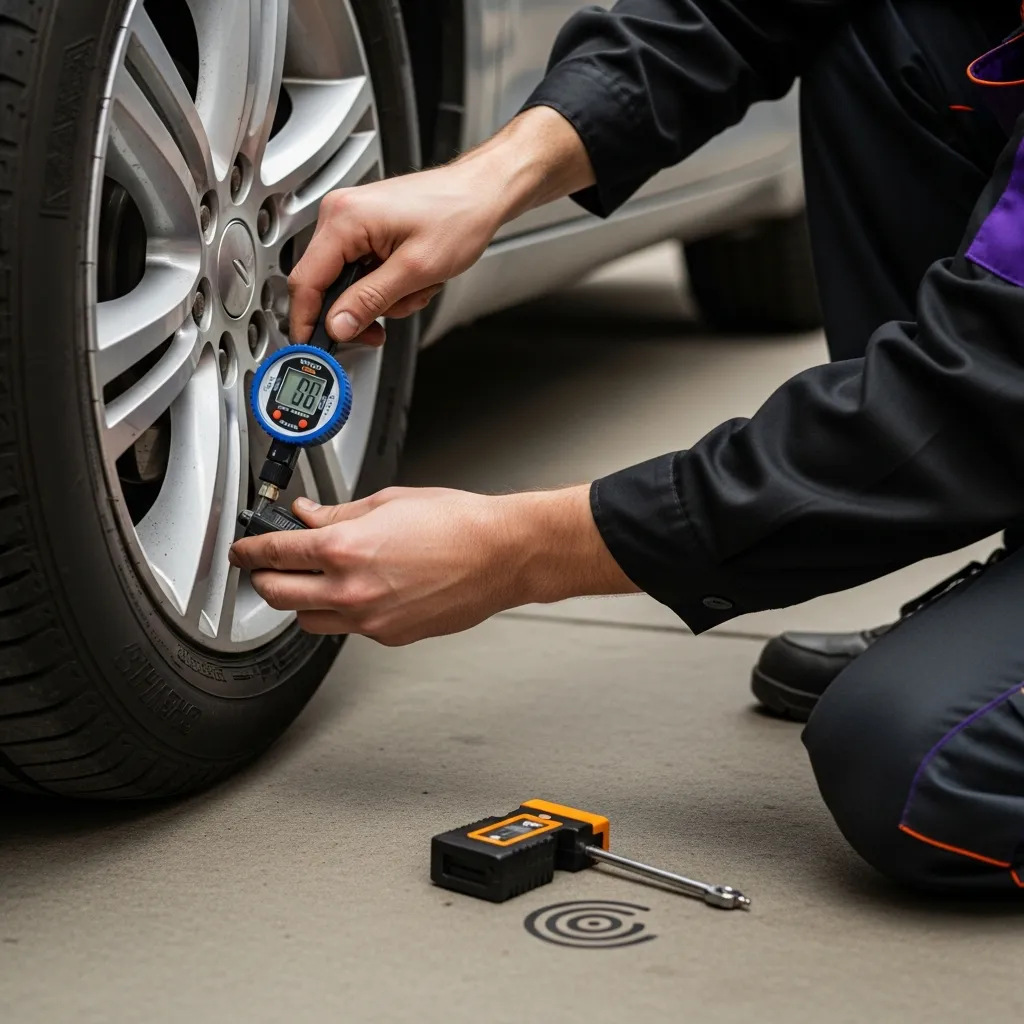
Tire Pressure & TPMS Check
Keep your tires properly inflated and your TPMS functioning flawlessly with Automotive Services of Austin's Tire Pressure & TPMS Check. Schedule your appointment today!
Full-Service Auto Care in Austin, TX
From advanced diagnostics and collision repair to on-site tire replacement, our skilled technicians handle it all. We are your complete, dealership-quality solution for every automotive need in Austin.
Serving Customers Across
These Locations